Coding: Difference between revisions
| Line 11: | Line 11: | ||
==Current Available Sensors== | ==Current Available Sensors== | ||
Sensors are programmable parts that allow a robot to interpret the physical world into processable data. | Sensors are programmable parts that allow a robot to interpret the physical world into processable data. Think of them as the robot equivalent to a human's eyes or ears. The robot can be instructed via code to take actions based on the sensor data it receives, which is what allows a robot to complete tasks on its own (like delivering a sandwich across a crowded restaurant or launching a soda can across a room). | ||
Below is a list of all the sensors currently available in the game. Other parts that can be controlled with Python can be found on the [[Controls]] page. | |||
{| class="wikitable" | {| class="wikitable" | ||
Revision as of 19:07, 25 August 2022
Getting Started
Programming is complex, especially when you don't know where to start. For those without access to programming classes or extracurriculars via their learning institution, RoboCo recommends CodeAcademy's Learning Python. This course is a great way to learn the fundamentals of Python AND is fully virtual, so players can take classes whenver they want.
In addition to learning the language, players will also need a program to code in. RoboCo recommends Visual Studio Code and its accompanying Python extension. This is actually the program RoboCo developers use write code for RoboCo. It comes with a variety of different customization options and extensions to fit all your coding needs (including Java and C+). You can also try Notepad++ and Sublime if Visual Studio Code is of little interest or isn't avaliable.
Additionally, RoboCo requires players to use its custom API Documentation. This is the way in which players "talk" to their robots and includes instructions for how to program the different sensors and other controllable parts within the game. Players can access the API here or by clicking the API button in the Microcontroller interface within RoboCo.
Current Available Sensors
Sensors are programmable parts that allow a robot to interpret the physical world into processable data. Think of them as the robot equivalent to a human's eyes or ears. The robot can be instructed via code to take actions based on the sensor data it receives, which is what allows a robot to complete tasks on its own (like delivering a sandwich across a crowded restaurant or launching a soda can across a room).
Below is a list of all the sensors currently available in the game. Other parts that can be controlled with Python can be found on the Controls page.
How to Load a New or Completed Script
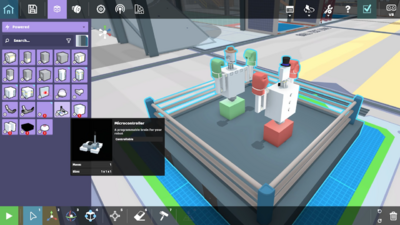
The first step to accessing the programming interface in RoboCo is attaching the microcontroller to your robot. This is the "brain" of your robot, and this can be found in the Powered section of the Parts inventory.
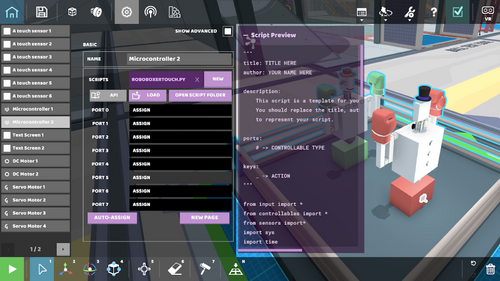
Once you've added the microcontroller to your robot you can either hit the "New" button to create a new script or the "Load" button to upload a previous or already completed script from your desktop. Currently, all your scripts for RoboCo live in a folder called "Scripts" which you can access via the "Open Script Folder" button or by going to This PC --> Documents --> my games --> RoboCo --> (Your Steam Username) --> Scripts.
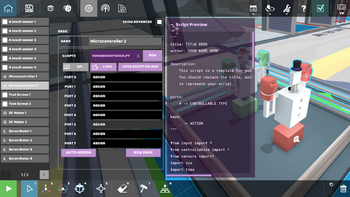
Once you've loaded in your code correctly, you should see a preview of it in the interface!
How to Assign Ports
RoboCo has two options when assigning ports: manual or automatic. If you want to automatically map your ports, simply click the auto-assign button in the Microcontroller interface. If you want to manually map your ports, follow the instructions below:
Troubleshooting
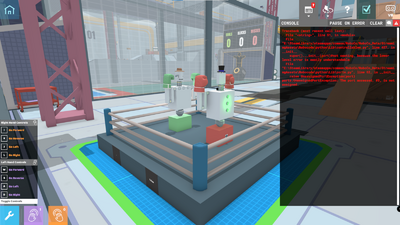
RoboCo has a debug console built into its coding interface that allows players to see what lines of code are causing errors. This should be your first step in helping troubleshoot Python code.
If you encounter a more complicated situation, we also have a #coding-and-automation-help-desk channel in the Official RoboCo Discord to help players troubleshoot more complicated problems. Once you've submitted a question to the channel, one of our developers or equally knowledgeable Discord members should be available to help you with your code.
Keep in mind, developers generally work in the US Central Time Zone so while staff may not be able to get to your questions right away, they will do their best to answer you within the first 24 hours.


